
If you’re dealing with a rattling exhaust, foul smells, or a sudden drop in performance, exhaust clamp problems might be the culprit. These small but critical components hold your exhaust system together, and when they fail, the results range from annoying noises to dangerous leaks. This guide covers the 7 most common exhaust clamp issues, how to diagnose each one, and exactly what to do about them.
TL;DR
- 7 common exhaust clamp problems: leaks, slipping, rust, breakage, rattling noises, seized bolts, and misalignment
- Most frequent cause: corrosion from road salt and moisture
- Quick fix: For minor leaks try a high-temp exhaust sealant; for structural failure, replace the clamp
- Prevention: Use stainless steel clamps, apply anti-seize compound, and inspect every 6 months
- When to seek professional help: If the exhaust pipe itself is damaged, or if you can’t break free rusted bolts without risking damage
1. Exhaust Leak at the Clamp Joint
The problem: You hear a ticking or hissing noise that gets louder as you accelerate. You might also notice a fuel smell or reduced fuel efficiency. This happens when the clamp fails to create a proper seal between two exhaust pipes.
Diagnosis: With the engine running (and cool enough to work near, not cold), hold a rag near the joint — if the rag gets sucked toward the gap or pushed away, you’ve found a leak. Alternatively, check for black soot around the clamp area.
Fix: For minor leaks, tighten the clamp bolts to the manufacturer’s torque spec (usually 35-50 ft-lbs). If that doesn’t work, apply a high-temperature exhaust sealant around the joint before re-clamping. For a failed gasket, replace it. If the pipe surfaces are damaged, you’ll need to replace the affected pipe section.
2. Clamp Slipping Out of Position
The problem: The clamp has moved from its intended position, causing the exhaust joint to separate partially. You’ll hear a progressively louder exhaust noise and may see the pipe visibly hanging lower than normal.
Diagnosis: Crawl under the vehicle (safely on jack stands, never just a jack) and inspect all exhaust clamps. A properly positioned clamp sits squarely over the joint where two pipes meet. If it’s shifted forward or backward, it’s slipping.
Fix: Loosen the bolts, reposition the clamp to center over the pipe joint, and retighten to proper torque. If the clamp keeps slipping, the pipe diameter may have corroded to a smaller size, meaning you need a new clamp with a smaller effective diameter, or the pipe section needs replacement.
3. Rusted or Corroded Exhaust Clamp
The problem: Surface rust is cosmetic, but deep corrosion weakens the clamp structurally. An exhaust system operates at high temperatures (300-600°F for most of the system, over 1,000°F near the catalytic converter) and is constantly exposed to moisture, road salt, and chemical de-icers.
Diagnosis: Look for rust flakes, pitting, or orange-brown discoloration on the clamp. Tap it gently with a hammer — if chunks fall off, the clamp is compromised. Pay special attention to the underside of the clamp where moisture collects.
Fix: Light surface rust can be wire-brushed off and treated with a high-temp rust converter. If the clamp has significant pitting or thinning, replace it immediately. Always upgrade to stainless steel for the replacement — it costs a few dollars more but lasts 3-5x longer than standard steel clamps.
4. Broken or Cracked Clamp
The problem: The clamp has literally broken apart, often at the bolt ear or along the band. This is the most dangerous failure because the exhaust pipe can separate completely, causing the exhaust to dump hot gases underneath the vehicle.
Diagnosis: Visual inspection will reveal a crack or complete separation. You might also hear a sudden dramatic increase in exhaust noise, feel a loss of power, or smell exhaust fumes inside the cabin.
Fix: This requires immediate replacement. Do not attempt to weld a cracked clamp — the metal is too thin and the heat cycling will cause it to fail again. Remove the broken clamp, clean the pipe surfaces, and install a new clamp. If the bolts are rusted solid, cut them off with an angle grinder or reciprocating saw.
5. Rattling or Banging Noises
The problem: A metallic rattle or bang when driving over bumps or during acceleration. This often isn’t the clamp itself failing, but the clamp becoming loose enough that the exhaust pipe can move and contact the vehicle’s underbody or frame.
Diagnosis: With the vehicle on a lift or jack stands, grab the exhaust pipe near each clamp and shake it firmly. If there’s more than 1/4 inch of movement, the clamp is too loose. Also check for shiny spots on the pipe or frame — those are contact points from the exhaust hitting the chassis.
Fix: Tighten the loose clamp. If the noise persists, inspect the rubber exhaust hangers — they may have deteriorated, allowing the entire exhaust system to sag and putting extra stress on the clamps. Replace worn hangers before re-torquing the clamps.
6. Seized or Stripped Clamp Bolts
The problem: You need to remove a clamp (perhaps to replace part of the exhaust), but the bolts won’t budge, or the threads strip when you apply torque. This is extremely common on vehicles in salt-belt states.
Diagnosis: The bolt head may be rounded off from a previous attempt, or the nut is a solid mass of rust. Apply a penetrating oil like PB Blaster or Liquid Wrench and wait 15-20 minutes before attempting again.
Fix: Heat the bolt area with a propane or MAP torch (avoid heating near fuel lines or the gas tank). The expansion breaks the rust bond. If the bolt still won’t move, cut it with a hacksaw or angle grinder. For stripped threads, replace the clamp entirely — it’s not worth trying to re-thread a rusted exhaust clamp. Preventive tip: Always apply anti-seize compound to clamp bolts during installation.
7. Pipe Misalignment at the Clamp Joint
The problem: The two pipe ends at the joint are not properly aligned before clamping. This creates an uneven seal, puts stress on the clamp, and leads to premature failure. It’s a common issue after DIY exhaust repairs.
Diagnosis: The pipes meet at an angle rather than in a straight line, or one pipe is inserted too far or not far enough into the other. Look for an obvious angle at the joint — the exhaust should run in a straight line through the clamp.
Fix: Loosen the clamp completely, separate the pipes slightly, and re-align them so they meet squarely. Use a straight edge along the pipe to check alignment before tightening. The overlap should be about 1-2 inches for most aftermarket exhaust systems. Tighten gradually, alternating sides if using a two-bolt clamp.
Exhaust Clamp Preventive Maintenance
A few minutes of preventive care can save you hours of exhaust work down the road:
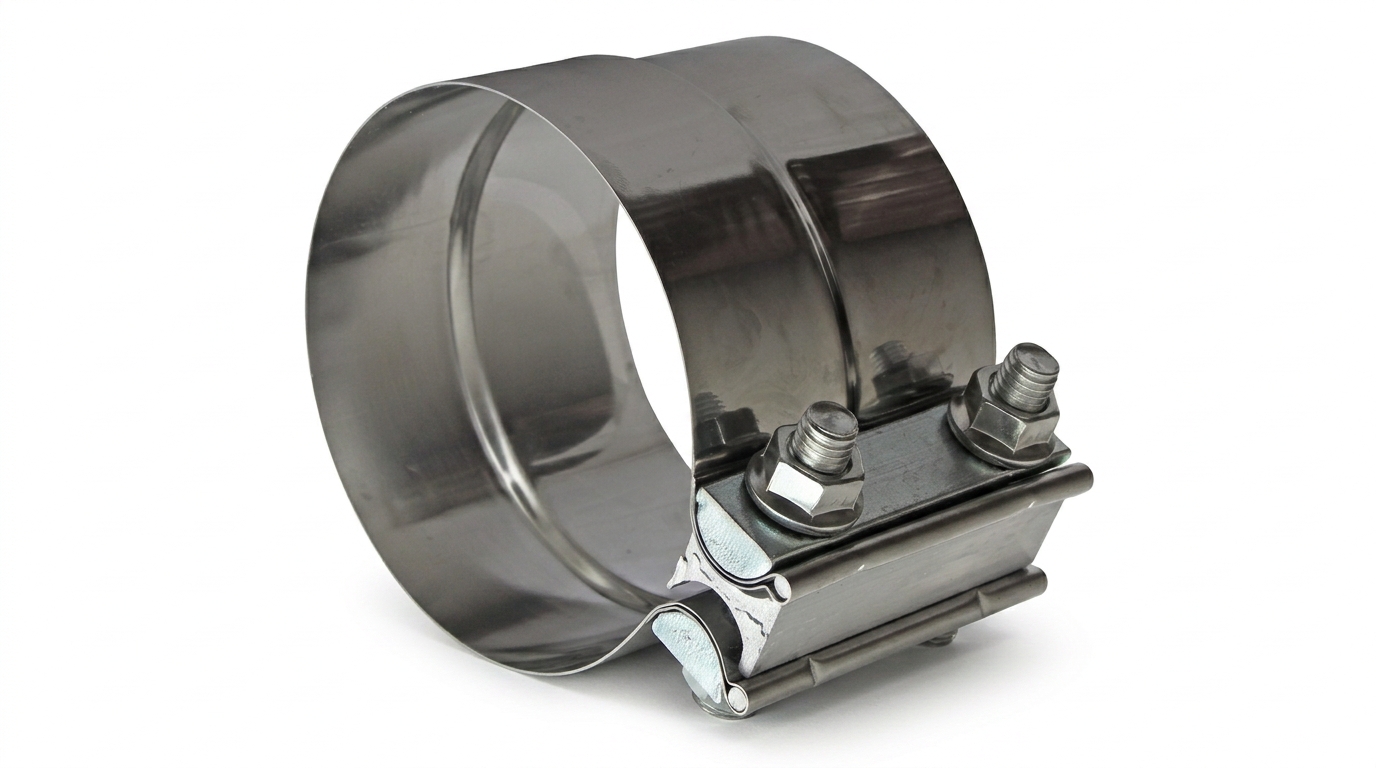
- Choose the right clamp: For long-lasting performance, use stainless steel band clamps (also called lap joint clamps) instead of U-bolt clamps. Band clamps distribute pressure evenly and are less likely to damage the pipe.
- Apply anti-seize: Coat the bolt threads with a nickel-based anti-seize compound rated for exhaust temperatures. This prevents seizing and makes future removal possible.
- Inspect twice a year: Check all exhaust clamps during oil changes (every 5,000-7,500 miles or 6 months). Look for rust, looseness, or signs of exhaust leakage.
- Listen for changes: If your exhaust suddenly sounds different, don’t ignore it. A small clamp issue today is a full exhaust replacement tomorrow.
- Address rust early: Apply a high-temp rust inhibitor to clamps in areas with heavy road salt use. A yearly undercarriage wash in spring helps remove corrosive salt residue.
FAQ: Exhaust Clamp Problems
Can I drive with a broken exhaust clamp?
You can drive short distances (to a repair shop), but it’s not recommended. A broken clamp allows the exhaust system to separate, which can lead to: (1) carbon monoxide entering the cabin, (2) hot exhaust gases damaging underbody components, and (3) further damage as the pipe bangs against the chassis. If you smell exhaust inside the car, stop immediately.
How much does it cost to replace an exhaust clamp?
A single exhaust clamp costs $5-25 for the part. DIY replacement takes about 30-60 minutes with basic hand tools. Professional installation at a muffler shop typically ranges from $30-80 per clamp, depending on accessibility and whether rusted bolts need to be cut.
Are stainless steel exhaust clamps worth it?
Absolutely. Standard steel clamps rust and fail within 1-3 years in areas with road salt. Stainless steel clamps (304 or 409 grade) cost $8-20 versus $5-10 for standard steel. They typically last the life of the exhaust system (5-10+ years). For the marginal cost difference, stainless steel is the clear choice.
What’s the difference between U-bolt and band clamps?
U-bolt clamps are the traditional design — a U-shaped bolt goes around the pipe, with a saddle plate on top. They’re cheap and common but can crush or distort the pipe and don’t seal as well. Band clamps (or lap joint clamps) wrap fully around the joint with a smooth inner band, providing even pressure and a better seal. For most applications, band clamps are superior, especially for exhaust systems with a 2-inch or larger diameter.
Can I use exhaust tape to fix a leaking clamp?
Exhaust tape or patch compound is a temporary fix. It works for small leaks and can get you to a repair shop, but it won’t hold under sustained high-temperature cycling. For a permanent solution, replace the clamp and ensure a proper mechanical seal. Relying on tape alone risks a sudden failure while driving.
Conclusion
Exhaust clamp problems are one of the most common — and most preventable — exhaust system issues. The seven problems covered here (leaks, slipping, rust, breakage, rattling, seized bolts, and misalignment) account for the vast majority of clamp-related failures.
The good news? Most of them are easy to diagnose and fix with basic tools. A stainless steel clamp upgrade, a tube of anti-seize, and a bi-annual inspection will eliminate nearly all exhaust clamp headaches. If you run into a stubborn rusted bolt or a damaged pipe that needs welding, don’t hesitate to visit a professional — sometimes paying $50 for a shop to handle it is better than fighting rust for two hours on your back.
Remember: your exhaust system is more than just noise control. It routes deadly carbon monoxide away from the cabin and affects your engine’s performance. A small clamp investment today protects a much bigger repair bill tomorrow.