How to Install an Exhaust Cutout (Complete Step-by-Step Guide)
An exhaust cutout is one of the best modifications for anyone who wants control over their exhaust sound. Open it at the track for full-throttle aggression. Close it for quiet cruising past the neighbors. But getting the install right matters—a poorly installed cutout leaks, rattles, or just doesn’t work when you need it. A properly installed cutout, on the other hand, delivers reliable, years-long service with minimal maintenance. The difference is all in the preparation and execution.
Here’s the full process, from choosing where to put it to testing the final result.
Tools and Materials
Before you start, gather everything you’ll need. Nothing worse than being under the car and realizing you’re missing a tool. Having everything within reach before you start means you can work through the entire install without interruptions.
- Angle grinder with a cutting wheel or reciprocating saw—a 4.5” angle grinder with a 0.045” cutoff wheel gives the cleanest cuts. A saws-all with a fine-tooth metal blade works but leaves rougher edges that need more cleanup.
- Exhaust band clamps (2x, sized to match your pipe OD)—get quality stainless clamps, not cheap mild steel. The clamps are the only thing holding the cutout in place, and a failed clamp means the cutout drops off while driving.
- Socket wrench set with appropriate sockets—typically 10mm, 13mm, and 15mm cover most exhaust clamp bolts. Extensions and a universal joint help reach tight spaces.
- Safety glasses, gloves, and hearing protection—cutting exhaust pipe creates sharp metal shavings that will find your eyes, and the noise from a grinder on metal exceeds safe levels within seconds.
- Jack and jack stands (or a lift)—never work under a vehicle supported only by a jack. Use jack stands rated for at least 1.5x your vehicle’s weight.
- Penetrating oil (for rusty exhaust bolts)—apply 15-20 minutes before starting to any bolts you expect to remove. On older vehicles in the Rust Belt, expect all exhaust fasteners to be seized.
- Measuring tape and marker—for marking the cut location on the pipe.
- File or deburring tool—for cleaning up cut edges so the cutout slides in smoothly.
- For electric cutouts only: Wire strippers, crimpers, electrical tape, multimeter, 12V test light, fuse tap, and zip ties for routing the wiring harness.
Before You Start: Safety First
Exhaust work means working under a vehicle—never rely on a jack alone. Use jack stands rated for your vehicle’s weight. Let the exhaust system cool completely before working on it—exhaust pipes can reach 400-600°F at operating temperature and stay dangerously hot for 30-45 minutes after shutdown. Burns from hot exhaust pipes are the most common injury we hear about from DIY installers. Also make sure the vehicle is on level ground and the wheels are chocked, especially if you’re only lifting one end.
Step 1: Choose the Right Location
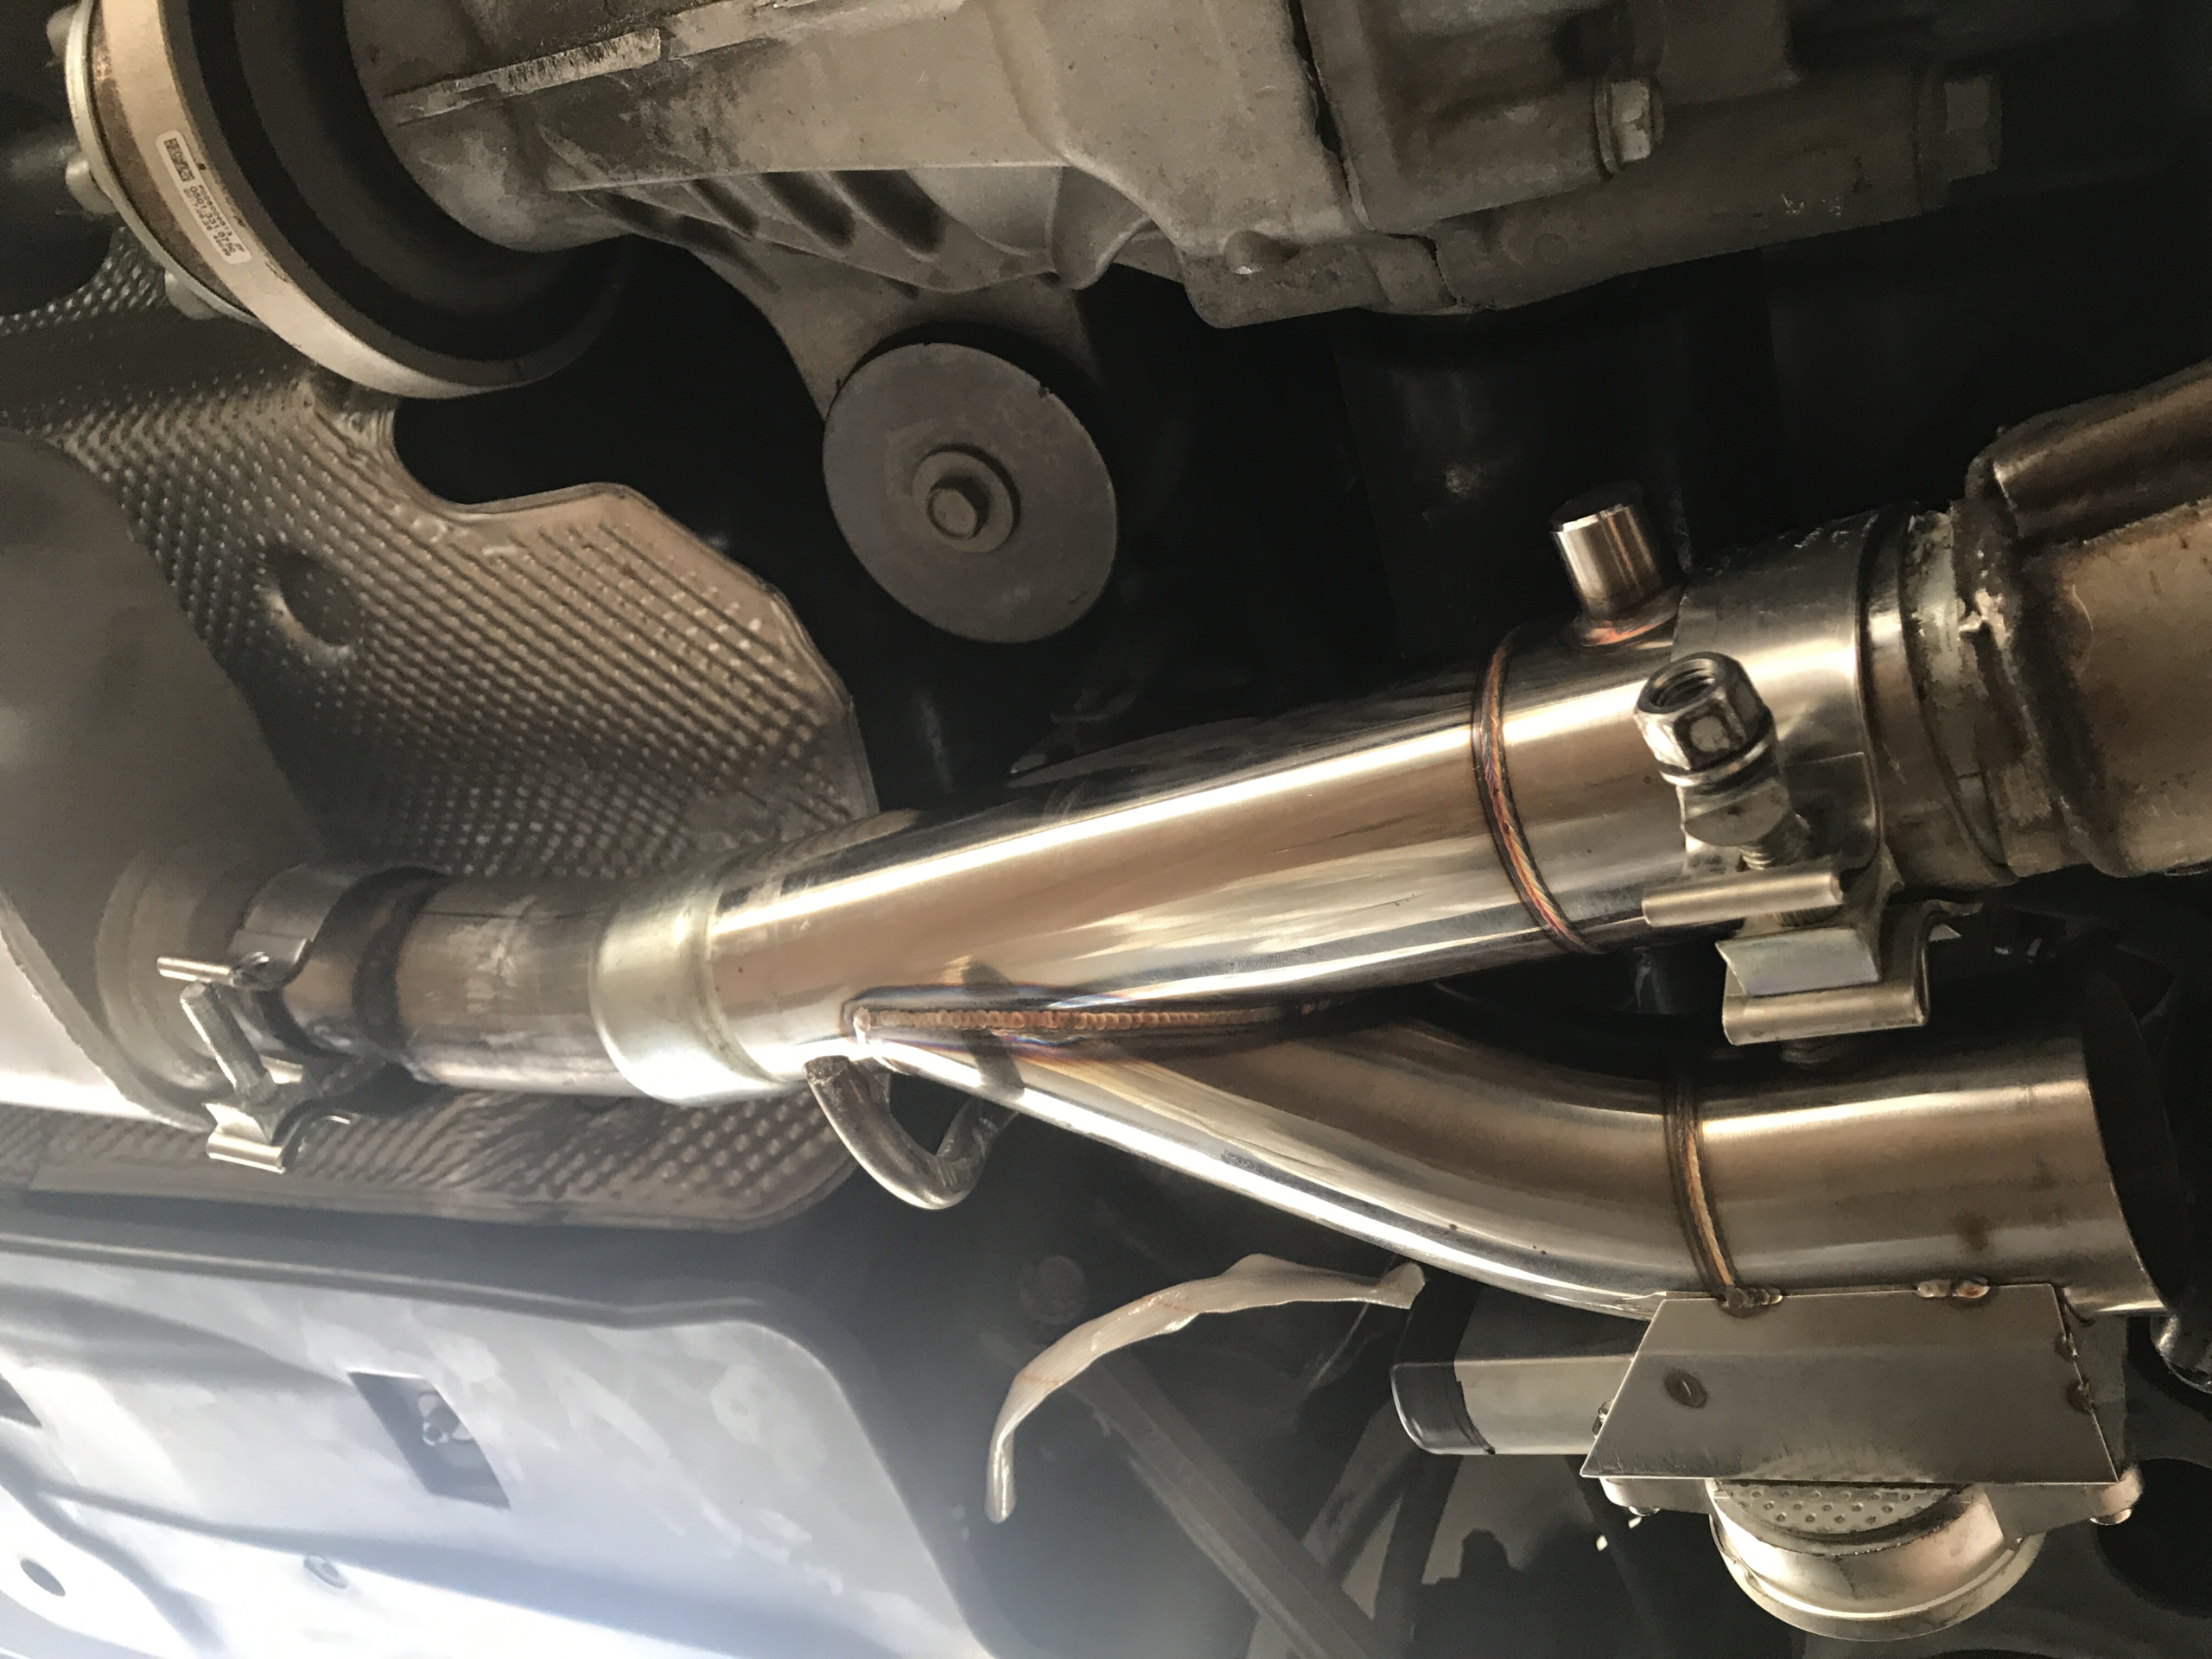
Placement determines how your cutout sounds and performs. The general rule: install it after the headers or downpipe and before the muffler. This lets the exhaust bypass the muffler when the cutout is open, sending exhaust gases straight to the tailpipe without going through the muffler’s baffles or chambers.
For maximum sound (and maximum power gain), install it as close to the engine as possible—right after the downpipe on turbo cars, or after the header collector on naturally aspirated builds. Every inch of exhaust pipe between the engine and the cutout acts as a muffler, so placing the cutout closer to the engine gives a louder, more aggressive note. For a more subtle change that still quiets down for daily driving, place it further back near the mid-pipe. This tames the volume somewhat while still giving you the option to open it up when you want the extra sound.
One thing to avoid: don’t install the cutout where it can hit the ground on speed bumps or where road debris can strike the valve mechanism. The cutout body extends below the factory exhaust line, so you lose 1-2 inches of ground clearance at that point. Measure the clearance before you finalize your placement by temporarily holding the cutout in position and checking the lowest point of the vehicle.
Step 2: Measure and Mark
Position the cutout along the exhaust pipe and mark where you need to cut. The cutout body needs enough room for both sides to slide into the pipe or connect via flanges. Measure twice here—cutting in the wrong spot means patching the exhaust pipe, which is a lot more work than taking an extra 30 seconds to confirm your measurements. Lay the cutout alongside the pipe and mark both ends of the cutout body plus 1 inch of overlap on each side for the clamp connection.
Step 3: Cut the Exhaust Pipe
Use an angle grinder with a cutoff wheel for clean, straight cuts. A reciprocating saw works too but leaves a rougher edge that requires more cleanup. Cut straight—angled cuts make it harder to seal the joint, and even a 5-degree angle can create a gap that leaks. Deburr the cut edges with a file so the cutout slides in smoothly. Take your time here: a clean, square cut is the foundation of a leak-free joint. If you’re cutting through rusted pipe, use a wire brush first to remove the heavy rust so the cutoff wheel cuts clean metal.
Step 4: Position and Secure the Cutout
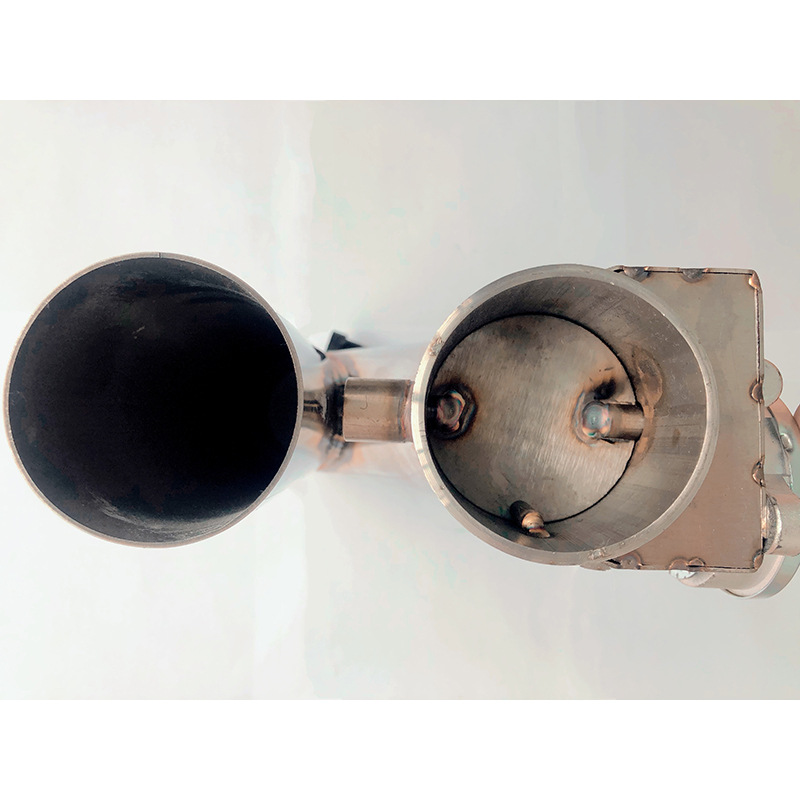
Slide the cutout into the gap. Make sure the valve body faces downward at a slight angle—never pointing upward. An upward-facing valve collects moisture, debris, and condensation, which leads to sticking and premature failure. The valve blade should rotate freely without binding against the pipe walls. If it catches, the cut section may need to be slightly wider.
Use exhaust band clamps on both connection points for a secure fit. Tighten them evenly—don’t fully tighten one side before starting the other. Alternate between the two clamps in 1/4-turn increments until both are tight. This prevents the cutout from being pulled to one side as you tighten. The final torque on the clamps should be firm but not excessive—about 15-20 ft-lbs for most band clamps. Overtightening can strip the threads or deform the band.
Step 5: Route Wiring (Electric Cutout Only)
This is the part that trips up most DIY installers. The electric cutout motor needs a clean 12V power source and a good ground connection. Route the wiring harness away from the exhaust pipes—even with heat shielding, direct contact with exhaust heat will melt wiring insulation over time. Keep at least 6 inches of clearance between wiring and any exhaust component.
Connect the positive wire to a switched 12V source (a fuse tap in the interior fuse box works well—choose a circuit that only has power when the ignition is on, like the radio or cigarette lighter circuit). Ground the negative wire to a clean, paint-free chassis point—scrape the paint off with sandpaper until you see bare metal, then secure the ring terminal with a self-tapping screw. Mount the control module in a location that’s protected from weather but accessible—inside the cabin under the dash is ideal. The remote control receiver needs a clear line of sight to the key fob; avoid mounting it behind metal panels that will block the RF signal.
Use zip ties every 6-8 inches along the wiring route to keep the harness secured and away from moving suspension components and hot exhaust surfaces. Wrap any sections that pass near the exhaust in heat-resistant loom tubing or reflective heat tape.
Step 6: Test the System
Start the engine and check both connection points for exhaust leaks—a soapy water spray on each joint will bubble if there’s a leak. Listen for a ticking sound at the cutout location, especially during idle when exhaust pressure is lowest and leaks are most audible. Cycle the cutout open and closed several times to make sure the valve moves freely and seats fully in both positions. Listen for any rattling or contact between the cutout and the vehicle chassis, underbody panels, or heat shielding.
If you’ve installed an electric cutout, test the remote from different distances and angles. Some installations need the antenna repositioned for better range—if the remote doesn’t work from 20 feet away but works at 5 feet, the antenna likely needs relocation. Test both the open and close functions at least 5 times to verify consistent operation.
Maintenance and Troubleshooting
LEDAUT stainless steel cutouts are designed for low maintenance, but a few simple habits extend their life significantly. Operate the cutout at least once a month, even if you don’t use it regularly, to keep the valve blade free and prevent carbon buildup from welding the valve in place. If the valve starts sticking, spray a silicone-based lubricant (never WD-40, which attracts dirt) on the valve shaft through the pipe opening.
Common issues and their fixes: If the cutout won’t open fully, check the wiring connections and verify 12V at the motor. A clicking relay but no motor movement usually means a bad ground or insufficient voltage due to a long, undersized wire run. If the valve chatters or rattles when closed, the valve seat may have carbon buildup—running a brush through the pipe with the valve open can clear this. Periodic inspection of the mounting clamps is also recommended, especially in the first month of use, as heat cycling can cause initial clamp loosening.
Common Installation Mistakes
- Wrong location: Too close to ground clearance issues or too far back for desired sound. Always measure ground clearance before finalizing placement.
- Valve facing up: Traps moisture, leads to sticking and eventual motor failure on electric models.
- Leaning on one clamp: Both connections need equal attention. Tighten alternately in small increments.
- Wiring too close to exhaust: Melts insulation, shorts the motor. Minimum 6 inches of clearance from any exhaust surface.
- Skipping the test: Don’t button everything up before checking for leaks and full range of motion. A 5-minute test saves a 2-hour redo.
- Cutting too large a gap: The cutout body needs to overlap the pipe on both ends by at least 1 inch for the clamp to grip properly.
- Forgetting to deburr: Sharp edges on the cut pipe will cut into the cutout’s rubber sealing ring or prevent the band clamp from seating flat.
Properly installed, a stainless steel electric or manual exhaust cutout from LEDAUT delivers years of reliable service. If you run into issues during installation, contact our support team for guidance.