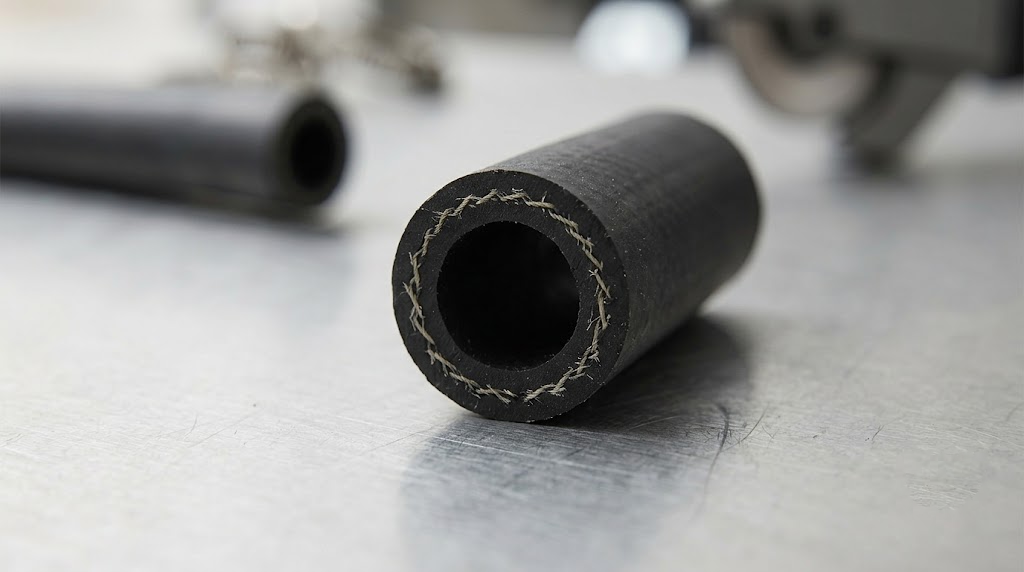
Replacing a lawn mower fuel line looks like a ten-minute job — cut the hose, push it onto the barb, tighten two clamps. It is a ten-minute job, which is exactly why so many of them leak. The failures rarely come from the hose itself. They come from a handful of steps people skip because each one seems too obvious to matter.
We supply small-engine fuel line, so we see the same mistakes on nearly every callback. A hose twisted during installation strains at the fitting. A cut made with scissors leaves a beveled edge that never seats flush on the barb. A clamp that held fine on the old line lets go once the hose warms up. A correct lawn mower fuel line replacement is not about owning fancy tools — it is about doing four ordinary things properly, and this guide covers every one of them in order.
Lawn Mower Fuel Line Replacement: The Short Version
- Shut the fuel off and let the machine cool before you disconnect anything, and disconnect the battery negative terminal while you work.
- Cut the new hose with a dedicated hose cutter, never scissors or a utility knife. A beveled end will not seal on a barb, no matter how tight the clamp is.
- Seat the hose fully, without twist. A hose with tension built into it works against the fitting every time the engine vibrates.
- Fit new clamps, positioned in the sealing zone just behind the barb’s raised ridge.
- Check for leaks twice: once cold, then again after the engine reaches operating temperature.
Before You Touch Anything: Fuel Off and Cool
Gasoline vapor can ignite at concentrations as low as 1.4% in air, with a flammable range extending to roughly 7.6% (as documented by NIOSH and OSHA chemical safety guidelines). A dropped metal wrench or a slight static discharge is enough to ignite pooled vapors.
- Work outside or in a thoroughly ventilated garage with doors wide open.
- Keep a rated Class B fire extinguisher within immediate arm’s reach.
- Use dedicated absorbent shop rags for cleanup — never flush spilled fuel with water, which spreads the liquid surface and accelerates vapor distribution.
Shut the fuel off before you loosen anything. On a gravity-fed mower, clamp the line with hose-pinch pliers or drain the fuel tank. If the machine features an electric or pulse fuel pump, disconnect the pump relay/fuse and run the engine until it starves and stalls.
Let it cool. A muffler that has just been running sits inches from the fuel line and stays hot long after the engine stops. If you have been mowing, let the block and exhaust cool to ambient temperature.
Disconnect the battery negative terminal. On electric-start models, unbolt the negative cable, position it safely away from the battery terminal, and leave it disconnected until all fuel connections are secured.
What You Need
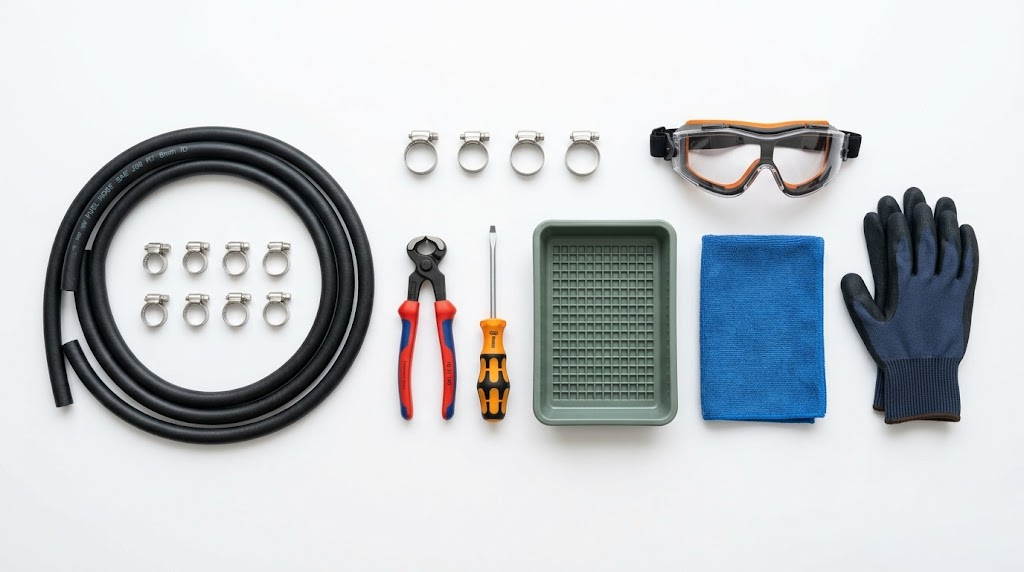
| Item | Why You Need It |
|---|---|
| Dedicated fuel hose cutter | Makes a 90° square, clean shear cut without crushing or beveling the inner tube wall. |
| Fuel-rated replacement hose | NBR (Nitrile) inner tube reinforced for gasoline and ethanol-blended small-engine service. |
| New hose clamps | Matches OEM type (constant-tension spring bands or worm-gear); replaces fatigued hardware. |
| Nut driver or clamp pliers | Ensures controlled torque on worm-gear bands or safe release of spring clips. |
| Drain pan and shop towels | Catches residual line fuel to prevent pooling on engine deck and garage floor. |
| Clean engine oil or ATF | Lubricates barb shoulder so the hose seats flush without scoring the rubber. |
| Flashlight & inspection mirror | Examines blind underside fittings during cold and hot leak-testing phases. |
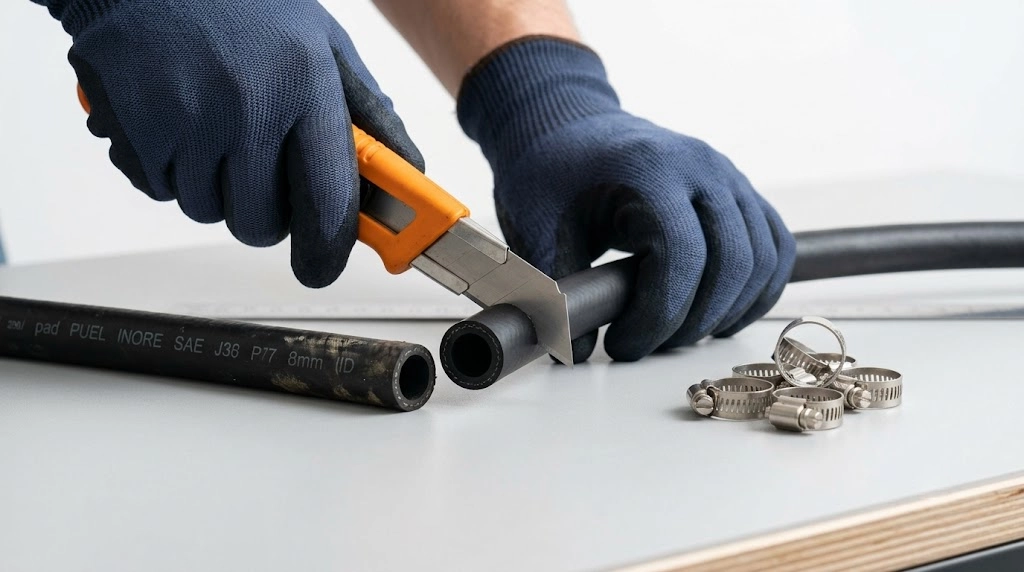
Do not substitute scissors or a utility knife for a proper cutter. They pinch the tube wall and leave a ragged, angled edge that will not seat fully on the barb. That single substitution causes more callback leaks than any other mistake in this article, and it is worth understanding why.
If you are stocking up rather than replacing one line, our rubber fuel line hose kit covers six bore sizes from 1/8″ to 1/2″ ID in 5 ft lengths, with stainless clamps and an NBR tube — enough to cover a range of machines without ordering six separate rolls.
The Step That Decides Whether It Leaks: Cutting Square
If you take one thing from this article, take this one. The cut end of the hose is the sealing surface. It has to sit flat against the shoulder of the barb with the clamp pressing it evenly all the way around. A cut that is not square cannot do that, and no amount of clamp torque will fix it.
This is also where the most common advice on the internet is wrong. Plenty of guides tell you to use a sharp pair of scissors or a utility knife. Both work by concentrating force into a narrow edge, and rubber gives way to that edge by deforming. The result is a pinched, tapered, or beveled end — it may look acceptable from the outside, but the inner wall has been crushed inward, and the end is no longer perpendicular to the hose axis.
A dedicated hose cutter works differently. It is built around a curved cradle that holds the hose round while a blade shears through the wall. The tube keeps its circular cross-section, and the cut is square.
How to make the cut:
- Position the cutter perpendicular (90°) to the hose, not tilted at an angle.
- Squeeze firmly and rotate the cutter slightly around the casing rather than mashing it through.
- Inspect the face: it must be completely flat, circular, and free of burrs or wall collapse.
- Run a clean finger around the edge. If you detect a taper, lip, or ragged edge, trim off 1/4″ and cut again.
Two more things about cutting: Do not cut the hose while it is bent around a corner; cut it straight, then route it. And do not try to score a ring around the hose with a knife and snap it — that produces a ragged break, not a cut.
Step 1 — Drain the System and Remove the Old Line
Start by looking at how the line connects. On small engines it is almost always one of two setups.
Barbed fittings with clamps are the standard on mowers. The hose pushes over a barb and a spring or worm-gear clamp holds it. Squeeze or loosen the clamp, slide it back down the hose, then twist the hose gently to break the bond with the barb and pull it free.
Push-lock fittings seat the hose fully onto a barb and hold it with an internal locking ring rather than a clamp. To release one, push the hose a little further onto the fitting to take the load off the ring, then pull it off in one steady movement. Do not pry a push-lock fitting apart with a screwdriver — you will gouge the sealing surface, and a scored barb will leak no matter what you do afterward. If it will not release, replace the fitting rather than forcing it.
If the old hose is cracked or hardened and refuses to come off, slit it lengthwise with a shallow utility blade cut right at the end. The old hose is scrap, so cut quality does not matter here. Just keep the tool away from the fitting metal — the barb is the part you are reusing.
Keep the old hose. It is your length template and your size reference, and you will want it when you measure the new one. While you have it off, inspect the barb for corrosion, cracks, scoring, or a worn edge. A pitted or damaged barb will not seal against a new hose; replace the fitting while you are in there rather than doing the job twice.
Step 2 — Measure the Route and Cut the New Line
Measure the old hose end to end, including the portion that was pushed inside the fitting. Then measure the actual route the hose follows — along bends, around the shroud, past the filter — rather than the straight-line distance between the two fittings. A straight measurement gives you a hose that comes up short once it is routed.
Add roughly an inch at each end to cover the insertion depth, plus a little slack so the line is not pulled tight when the engine moves on its mounts. On a typical riding mower the run is only two to three feet, so a 5 ft length leaves plenty of room to trim to size. If you are not sure which bore size your machine takes, measure the barb outside diameter rather than the old hose — the old hose has stretched and swollen over years of fuel exposure. Our guide on how to choose the right lawn mower fuel line size walks through that measurement.
Then cut it square, using the method in the section above. Cut one end, dry-fit the route, and only then cut the second end. It is much easier to shorten a hose than to lengthen one.
Step 3 — Seat the Hose on the Barb Without Twisting It
Before the hose goes on, slide the clamp onto it — you cannot fit a clamp after the hose is seated on the barb. Position it roughly 1/8″ to 1/4″ back from the hose end so it is out of the way while you push.
Check the barb first. Run a finger over it. A rough barb or one with machining marks will score the inner wall of the new hose as it goes on, creating a weak point from the first day.
Lubricate the barb lightly with clean engine oil or a little ATF. This reduces friction so the hose slides all the way home instead of stopping partway. Do not use gasoline as a lubricant: it is flammable, it is an ignition risk right where you are working, and it offers no useful lubrication in the seconds before it evaporates.
Push the hose onto the barb until it bottoms out. You should feel it stop against the shoulder of the fitting, with no gap between the hose end and that shoulder. Then rotate the hose slightly by hand to confirm it has seated evenly all the way around.
Now the part people get wrong: twist. A hose that has been twisted along its length — one end rotated relative to the other — stores that tension permanently. It will work against the fitting every time the engine vibrates, and it will fail at the joint long before the hose itself wears out. The hose should run from one fitting to the other bending in one plane only, the way a cable lies flat when it is not tangled.
To check, look straight down the length of the installed hose. If you see a spiral running along it, the hose is twisted. Loosen the clamp, pull the end off the barb, straighten it, and refit. If the routing forces a twist, the fix is a different route or a longer hose — not forcing this one.
Position the clamp in the sealing zone. That means directly over the barb, just behind the raised ridge, with the hose fully covering the barb underneath. A clamp sitting on the bend of the hose, or past the end of the barb, is holding nothing.
Snug it, do not crush it. The hose should still rotate on the barb under firm finger pressure, but it should not slide off. If the rubber bulges out past the edges of the clamp band, or the hose looks pinched flat under the clamp, you have over-tightened it — back the clamp off until the hose returns to round.
Fit new clamps. Spring clamps lose tension with age and worm-gear clamps develop a permanent set at the point where they were tightened. A clamp that has already given up part of its grip will not hold a new hose properly, and it will leak slowly rather than obviously. Use the clamp type your machine was built with, and replace every clamp you remove.
Then repeat the whole process at the other end, and check for twist again once both ends are seated.
Step 4 — Route and Secure the New Line
Run the hose along the original path, keeping it clear of three things: anything that moves, anything sharp, and anything hot.
Keep clearance from the muffler, the exhaust, and the cylinder fins. Heat is what ages a fuel hose fastest, and a line resting against a hot surface will harden and crack in a fraction of the time it would otherwise take. Keep it clear of belts, pulleys, and the throttle linkage as well.
If the hose passes through a hole in the engine shroud or a bracket, check the edge it passes over. A sharp or rough edge will chafe through a hose wall over a season of vibration, and the resulting leak is a slow one that is easy to miss. Add a grommet or a length of split tubing if the edge is sharp.
Secure the hose so it cannot rub, using the original clips or ties where they were. Then check the two things that cause most routing problems: kinks, and slack. A hose forced into a tighter bend than its wall can take will collapse and starve the engine at full throttle; if the route needs a bend that sharp, use a longer path. Too much slack is the opposite problem — a sagging loop swings against surrounding parts, chafes, and eventually wears through.
Step 5 — Leak-Check the New Line, Cold Then Hot
Checking for leaks is not the last optional step. It is the step that decides whether you have actually finished.
Reconnect the battery negative terminal, and reinstall the fuel pump fuse or relay if you pulled one.
Put a little fuel back in the tank. On a gravity-fed mower the line fills on its own. On a pumped system, turn the key to ON so the pump primes the line.
Check the joints cold. Look at both fittings for wetness, a damp sheen, or fuel vapor. A slow seep usually shows as a slightly dark, greasy-looking ring around the hose end rather than an obvious drip. Use the flashlight and mirror to see the back side of each fitting, where the leak you cannot see is most likely to be.
Then start the engine and let it reach operating temperature, and check again. This second check is the one most people skip, and it is the one that catches the failures that matter. Hot fuel softens the rubber and lets the clamp relax its grip, and the metal fitting expands by a different amount than the hose does. A joint that was sealed cold can start to weep once the system is warm — and that is exactly the leak that shows up a week later.
If you find a leak, shut the engine off, shut the fuel off, and reseat the fitting. The usual causes are an incompletely seated hose, a clamp sitting outside the sealing zone, a hose that was cut at an angle, or a damaged barb. Do not put the machine back into service until it holds fuel with no visible seepage at either temperature.
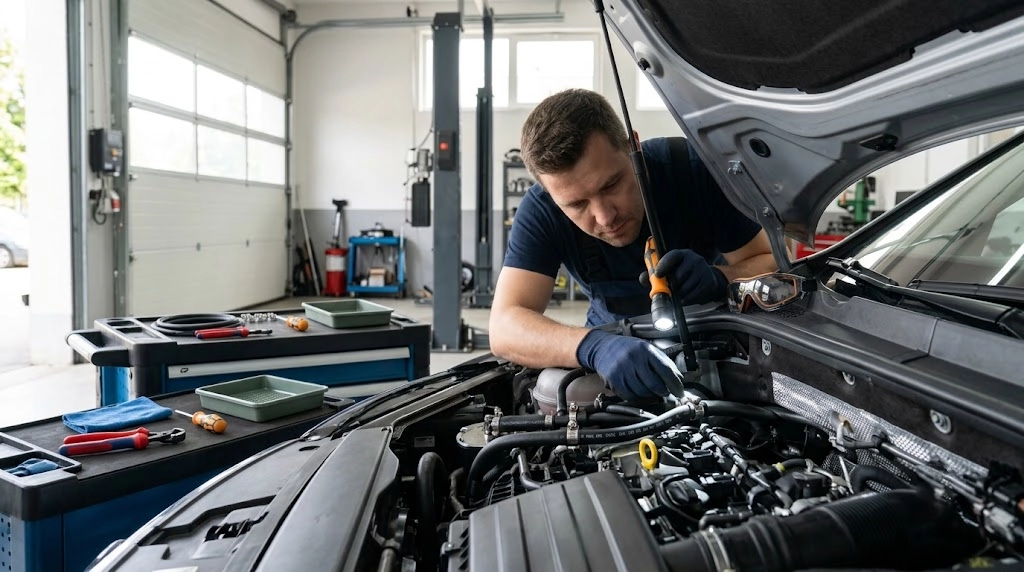
If you already have a leak on your hands rather than a line to replace, our fuel line leak diagnosis guide works through the causes in order, from hardened hose to permeation through the wall.
The Five Mistakes That Cause a Comeback
Every one of these is avoidable on the first pass, and each is covered in detail above:
- A hose cut with scissors or a utility knife. A pinched, beveled end will not seal, no matter how tight the clamp is.
- Twist left in the hose. Invisible from above, and permanent once the clamps are tight.
- A reused clamp. It has already taken a set at the old hose diameter and given up part of its tension.
- A cold-only leak check. The leaks that matter show up once the system is warm.
- Working on a live fuel system. Shut the fuel off before you disconnect anything.
Frequently Asked Questions
Can I use regular silicone hose as a fuel line?
No. Standard silicone rubber is not compatible with gasoline: it swells severely and loses its tensile strength, and in a static fuel immersion test it can expand by well over 100% of its volume. The sole exception in the silicone family is fluorosilicone (FVMQ), which offers true gasoline resistance — however, it costs several times more and is reserved for aerospace diaphragms and custom turbo seals rather than bulk line. For small lawn equipment, use SAE-rated rubber fuel line featuring an NBR (nitrile) core.
How tight should a fuel line clamp be?
Snug enough to bite the rubber without biting through it. You should still be able to rotate the hose on the barb using firm finger pressure, but you should not be able to pull it off linearly. If the rubber squeezes up past the edges of the clamp band, or the wall visibly collapses into an oval, the clamp is over-torqued and must be loosened to prevent cut-through leaks.
Can I reuse the old clamps?
No. Always install fresh clamps alongside new fuel line. Constant-tension spring clamps suffer metal fatigue from thermal expansion, while worm-gear clamps take a permanent curved set at the previous hose diameter. Reusing old clamps results in non-uniform sealing pressure and delayed weeping.
How do I keep the new hose from twisting?
Push the line straight onto the first barb, align your natural run, and sight down the axis of the hose before sliding it onto the second fitting. Any helical ribbing or spiraled text indicates axial twist. Pull the unseated end back, allow the rubber to relax to its neutral drape, and press it on straight.
What if the old fuel line won’t come off the fitting?
Slit it off carefully. Do not yank violently or pry between the hose and barb with a steel screwdriver, as gouging the barb shoulder creates permanent leak paths. Score the old rubber lengthwise right over the barb with a fresh utility blade, peel the flap open, and slide the fitting free unscathed.
Do I need to prime the fuel system after replacing the line?
On simple gravity-fed push mowers, no — fuel flows into the bowl automatically once the petcock is opened. On tractors or zero-turns with an electric fuel pump, rotate the ignition key to RUN for 3–5 seconds to purge air bubbles and pressurize the rail before cranking the starter.
Conclusion
A lawn mower fuel line replacement comes down to four things: shut the fuel off, cut square with the right tool, seat the hose without twist, and check for leaks at both temperatures. None of them is difficult, and all of them are easy to skip. Do them, and the line will seal and hold for the life of the machine.
If you are still choosing the hose, our guide to rubber fuel line for lawn mowers and small engines covers bore sizes, outside diameters, and how each size is used.
Get Replacement Fuel Line for Small Engines
Replacing a line on your own machine? Our rubber fuel line hose kit covers six bore sizes from 1/8″ to 1/2″ ID in 5 ft lengths with stainless clamps — an NBR tube with braided polyester reinforcement, so you can match the barb in front of you instead of guessing.
Stocking a shop or sourcing for a product line? We supply rubber fuel line for small engines in bulk and support OEM and ODM orders, including custom lengths, diameters, and packaging. Send us your sizes and quantities for a quote.