If you’re planning a flex pipe installation, you already know it’s not a complicated job — but the difference between a job that holds and one that fails in six months usually comes down to the details. We’ve been making flex pipes at LEDAUT for over 20 years, and we’ve seen every mistake you can make under a car. Here are the seven most common ones, plus the right way to do each step.
Tools & Prep for a Flex Pipe Installation
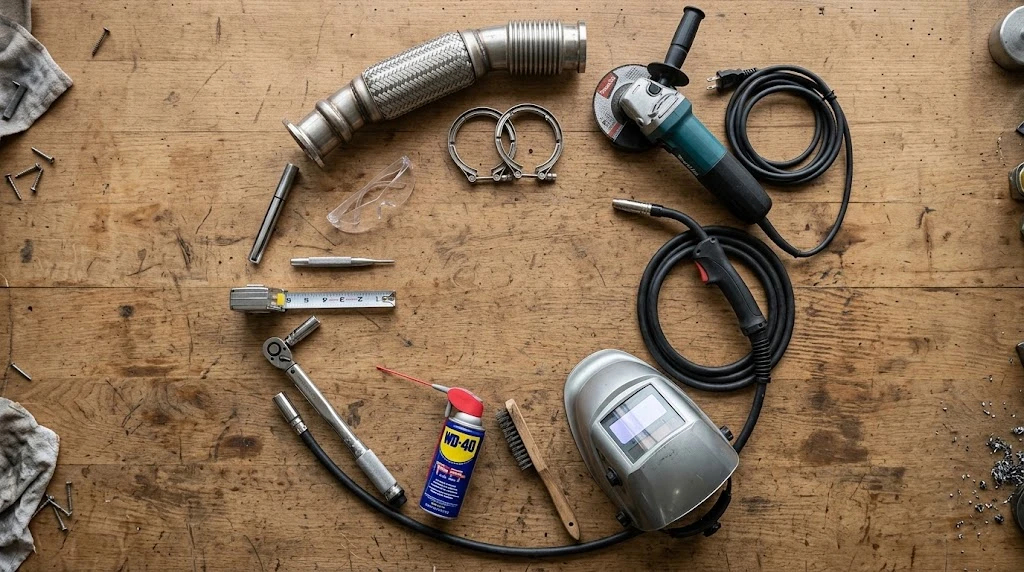
Before you get under the car, get your tools together. Nothing kills momentum like crawling out from under the car three times because you forgot a socket.
What you’ll need:
- Floor jack and jack stands — never rely on just a scissor jack
- Socket set and wrenches (metric and standard, depending on the vehicle)
- Caliper or tape measure to measure pipe diameter
- Torque wrench (25-30 ft-lbs range)
- Penetrating oil (WD-40 or similar)
- Safety glasses and gloves
- Angle grinder with a cut-off wheel (if the old pipe is welded)
- Wire brush for cleaning the connection area
- Clamp (if using clamp-style connections)
- Soapy water in a spray bottle for leak testing
Safety first: Chock the wheels. Disconnect the battery negative terminal if you’re working near electrical components. Let the exhaust system cool down completely — we’ve grabbed a hot pipe more times than we’d like to admit. Wear gloves, because road grime and rust don’t wash off easy.
Prep the parts: Before you start, lay the new flex pipe next to the old one. A clean flex pipe fitting starts with matching parts. Make sure the diameter, length, and inlet/outlet configuration match. The biggest time-waster in any flex pipe installation is finding out halfway through that you’ve got the wrong part. Measure twice, cut once — same rule applies here.
Step-by-Step Exhaust Flex Pipe Installation Guide
Step 1: Lift the Vehicle & Locate the Flex Pipe
Position the floor jack at the manufacturer-recommended lift point — usually the frame rail or the center crossmember. Raise the car and place jack stands under the designated support points. Give the car a gentle shake to confirm it’s stable before sliding under.
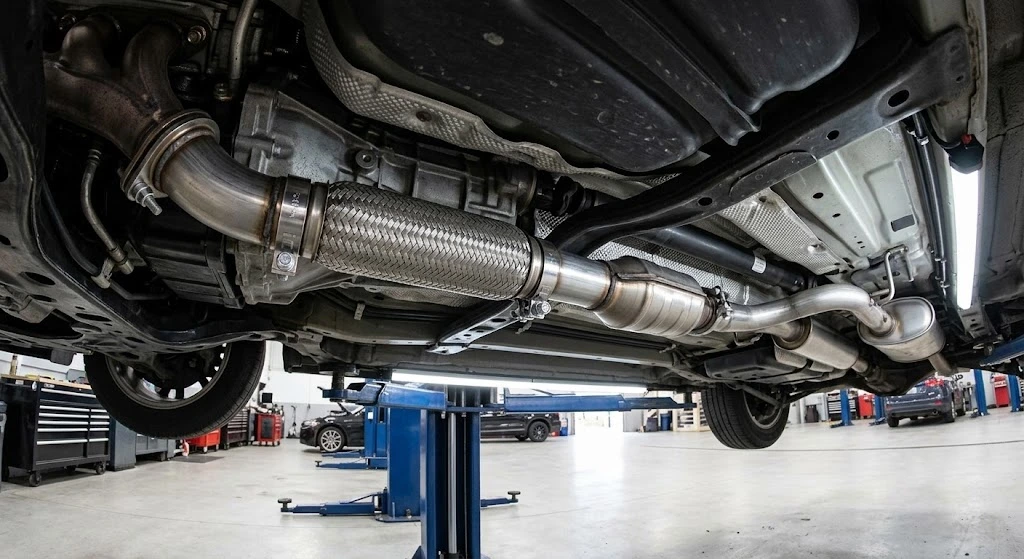
The flex pipe is typically between the exhaust manifold or downpipe and the catalytic converter. On some vehicles it’s easy to spot — a braided stainless section that looks different from the solid pipe on either side. On others, especially newer models, it might be tucked behind heat shields or cross-bracing. Use a flashlight and trace the exhaust path from the engine back until you find it.
Step 2: Remove the Old Flex Pipe
If the old flex pipe is held in with clamps, spray the bolts with penetrating oil and let it sit for five minutes. Then break them loose with a socket and ratchet. If the bolts are rusted — and they usually are — use a breaker bar or an impact wrench. Don’t force a ratchet past its limit; that’s how you strip bolts.
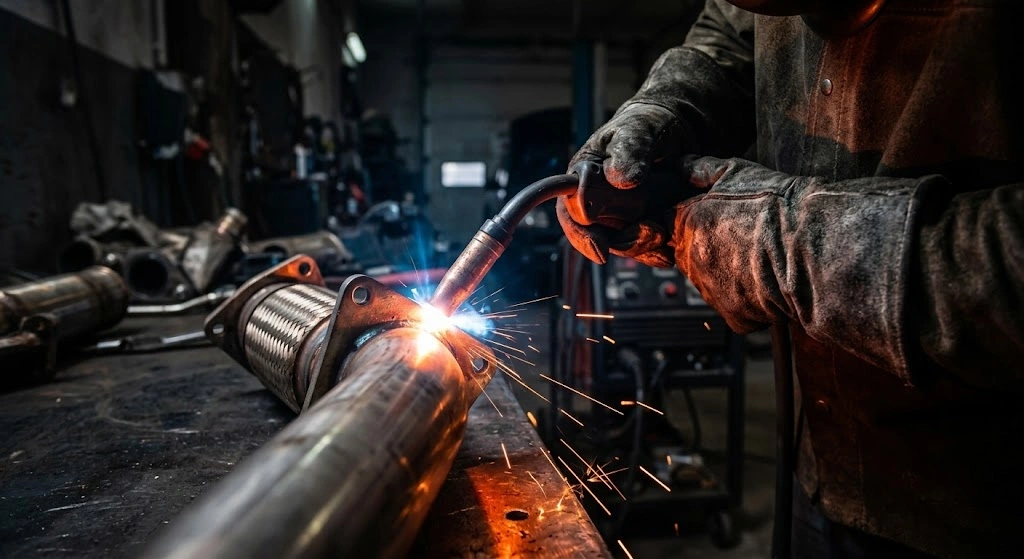
If the old pipe is welded in, mark the cut points carefully. Use an angle grinder with a thin cut-off wheel. Cut straight across the pipe, not at an angle — angled cuts make it harder to install exhaust flex pipe sections properly. Leave enough pipe on both sides so the new flex pipe has room for overlap (at least 2 inches on each side). Clean the cut edges with a wire brush to remove burrs and rust flakes.
While you’re there, check the adjacent sections — the downpipe and the cat inlet. If they’re rusted thin or damaged, you’re better off replacing those sections now rather than trying to install a new flex pipe onto rotten pipe. A good flex pipe installation starts with a solid foundation.
Step 3: Measure & Test-Fit the New One
Slide the new LEDAUT flex pipe into position without tightening anything. This is the most important test-fit you’ll do.
Length check: The new section should overlap the existing pipe by at least 2 inches on each end. If it’s a tight squeeze, that’s fine — it’s supposed to be snug. If it’s falling short, you may have the wrong size.
Angle check: Flex pipes aren’t completely straight — many have a slight bend designed to match the exhaust routing. Check that the braided section isn’t twisted or forced into an unnatural curve. The flex section should sit in its relaxed position, not pulled, stretched, or compressed.
Clearance check: Once the pipe is in position, check all around it. Is there at least one inch of clearance to the frame, body panels, heat shields, and drivetrain components? If it’s touching anything, the vibration from the flex pipe will create a rattle — or worse, a wear-through point.
Step 4: Position & Clamp
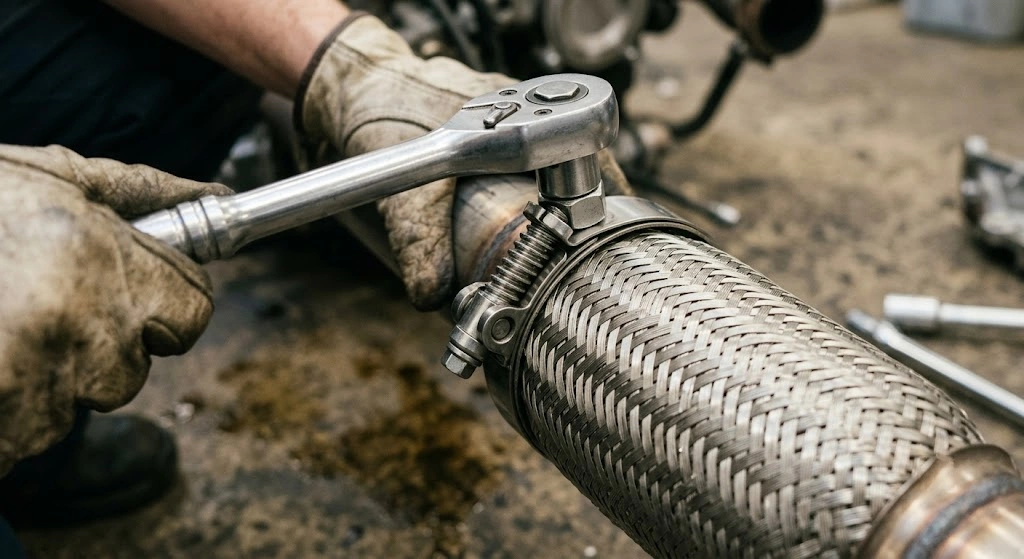
Now that you’ve test-fitted, you know it fits. Slide it back in, this time for real.
Get the natural position right. Don’t pull the flex pipe into alignment by forcing it — align everything else to the flex pipe. If the old exhaust system is sagging, support the muffler or intermediate pipe with a second jack to take the strain off. The flex section should sit in its neutral, relaxed position. If it’s twisted, it’s already under stress before the car even starts.
Overlap matters. Push each end of the flex pipe onto the existing pipe sections so you get a solid 2-inch overlap minimum. Less than 2 inches and the clamp won’t have enough bite to hold. We’ve seen flex pipes blow off after a few hundred miles because someone skimped on the overlap.
Hand-tighten the clamps first. Get the U-bolt clamps snug by hand — just enough to hold the pipe in position. This lets you do a final alignment check before committing. Walk around the car, look at the flex pipe from different angles, make sure it’s sitting straight. Once the clamps are torqued down, you can’t adjust.
Step 5: Final Torque & Leak Test
Tighten the U-bolt clamps to 25-30 ft-lbs using a torque wrench. Don’t guess it — over-tightening crushes the pipe and distorts the connection. Under-tightening and it’ll leak or slip off. 25-30 ft-lbs is the sweet spot for most exhaust U-bolt clamps.
Then start the car and check for leaks. The cheapest, most reliable method is soapy water. Mix dish soap with water in a spray bottle, spray it on both connections while the engine is idling, and watch for bubbles. A small leak shows up as a slow bubble cluster; a big one shows up immediately. Listen for hissing too — that’s your backup check.
If you see bubbles at a connection, tighten the clamp another 2-3 ft-lbs and re-check. If it still leaks after that, the overlap might not be enough, or the pipe surfaces are too damaged to seal. Don’t chase a leak with a torque wrench past 35 ft-lbs — you’ll crush the pipe.
7 Common Mistakes to Avoid
Mistake 1: Not Enough Overlap (Under 2 Inches)
We see this one the most. Someone cuts the old pipe too short, or buys a flex pipe that’s barely long enough, and ends up with a one-inch overlap. The clamp grabs but doesn’t hold under exhaust pressure and vibration. Result: a leak that gets worse over time, and eventually the flex pipe separates entirely. Minimum 2 inches on each side, no exceptions.
Mistake 2: Overtightening the Clamp
A torque wrench isn’t optional on a flex pipe installation. We’ve pulled off clamps that were torqued past 50 ft-lbs — the pipe was visibly flattened under the clamp band. That crushed section becomes a stress point and cracks within months. Stick to 25-30 ft-lbs. If it leaks at that torque, the problem isn’t the clamp tightness — it’s the fit. Learn more about avoiding deformation in our guide to over-tightening an exhaust clamp.
Mistake 3: Welding Without Understanding the Metallurgy
MIG welding a 409 stainless flex pipe using standard mild steel wire creates a brittle joint with incorrect filler metal selection. And when it comes to welding 321 stainless steel — which handles temperatures over 800°C (1,470°F) and typically requires a stabilized 347 filler metal — using the wrong welding technique or filler rod anneals the material and causes intergranular corrosion or cracking after minimal thermal cycles. If you must weld, keep heat input low and match your filler rod to the stainless grade.
Mistake 4: No Support on the Exhaust System
A flex pipe isn’t a structural component — it’s there to absorb vibration and thermal expansion. If you install a new flex pipe but the exhaust hangers are worn out or missing, the weight of the exhaust system hangs on the flex section. Every bump, every engine rock, every thermal cycle fatigues the braid until it tears. Before you start the flex pipe installation, check the rubber hangers. Replace any that are cracked or stretched.
Mistake 5: Wrong Installation Angle
A flex pipe has a natural axis of movement. If you install it twisted — even just 15-20 degrees off — the braided section is already working against itself. It’ll fatigue faster and fail at the braid-to-ferrule joint. When you do the test-fit, make sure the braided section sits in its relaxed position with no pre-load.
Mistake 6: Wrong Material for the Application
This one hurts. Someone installs a 409 flex pipe on a turbocharged application where exhaust gas temperatures regularly hit 700°C+. The 409 pipe corrodes from the inside out and burns through within a year. For high-heat applications — turbo engines, performance builds, vehicles that see heavy towing — you need a higher-grade alloy. A 321 stainless flex pipe costs more but survives where 409 can’t. Match the material to the operating conditions, not the price.
Need help choosing between materials? Read our flex pipe types guide for a full breakdown.
Mistake 7: Skipping the Leak Test
We get it — you’re tired, it’s getting dark, the job is done. You start the car, it sounds fine, you pack up. Then the next morning you smell exhaust in the cabin on the way to work. A small leak that doesn’t show up at idle can appear under load, and a flex pipe installation isn’t complete until you’ve verified the seal under operating conditions. Take the five minutes to do a soapy-water test. It saves a re-do.
Pro Tips from the Factory Floor
Tip 1: Put the clamps on before you position the pipe. Slide both clamps onto the existing pipe sections first, then fit the flex pipe between them. If you try to install the clamps after the pipe is in position, you’ll be fighting for space and scratching up the braid.
Tip 2: Soapy water beats listening. “It sounds fine” isn’t a seal check — not when you’re under load on the highway. A spray bottle with soapy water costs nothing and catches leaks your ears miss. Use it every time.
Tip 3: If something feels wrong, stop. Maybe the angles don’t line up, the clamp doesn’t sit flush, or the pipe doesn’t slide on cleanly. Don’t force it. A bad flex pipe installation done in a hurry costs twice as much as a good one done carefully. Walk away, take a look at the vehicle from underneath again, or if you’re stuck, have a shop take a look. There’s no shame in getting a second pair of eyes.
Tip 4: Re-torque after 50 kilometers. After the first few heat cycles, clamps settle. The pipe surfaces compress slightly, the bolts relax. Run the vehicle for about 50 km, let it cool, get back under the car, and re-torque both clamps to 25-30 ft-lbs. This one step alone prevents more comebacks than anything else we’ve seen.
FAQ
Q1: How long does a flex pipe installation take?
For someone with basic tools and a jack, plan on 1.5 to 3 hours. A direct clamp-on replacement on a rust-free car might take an hour. A welded replacement on a 15-year-old vehicle from the rust belt could take half a day — most of that time is dealing with rusted bolts and cutting access.
Q2: Do you have to weld, or can you use clamps?
If the original setup uses clamp-style connections, you can absolutely use clamps for your flex pipe installation. We design our flex pipes to work with heavy-duty exhaust clamps. Welding gives you a permanent joint, but a properly installed clamp joint with 2-inch overlap at 25-30 ft-lbs is reliable for the life of the pipe. The key is correct overlap and torque.
Q3: What happens if you install the flex pipe in the wrong orientation?
Some flex pipes have a directional flow arrow or an internal liner. If you install one of those backward, the liner can shift or bunch up, restricting exhaust flow and creating a restriction that affects performance. For non-directional flex pipes (no internal liner), orientation doesn’t matter — but the natural bend angle still does. Always check the manufacturer’s markings before clamping.
Q4: How often should you check the flex pipe after installation?
Re-torque after the first 50 km. After that, inspect the flex pipe during every oil change — look for cracks at the braid ends, rust around the clamps, and any signs of soot (that tells you there’s a small leak). A well-installed flex pipe with the right material choice should last the life of the exhaust system.
Conclusion
A flex pipe installation isn’t hard, but it rewards patience and attention to the details. Get the overlap right. Watch the torque. Support the exhaust system. Choose the right material for your application. And always — always — leak-test before you call it done.
At LEDAUT, we’ve been making flex pipes for over 20 years. We build them to handle real-world conditions, whether it’s a daily driver, a work truck, or a weekend project. If you’re planning an install, check our interlock vs braided vs bellows guide to find the right configuration, and when to replace your exhaust flex pipe so you don’t push a failing part past its limits.
Get under the car, do it right, and don’t skip the torque wrench.
Looking for high-durability flex couplings, specialized exhaust hardware, or bulk custom manufacturing? Contact our engineering and sales team today for direct wholesale support.